Learning how to restore painted cane furniture is easily one of the most valuable tricks I’ve learned since DIYing.
Why? How many times have you found a beautiful piece of cane furniture when thrifting or in an antique store? But then you find that it has been damaged or …. gasp! … PAINTED?!!! ( The horror!)
I can’t even tell you the number of beautiful pieces I’ve left behind because of this.
But when I was given a thrifted set of beautiful cane back dining chairs that were completely painted white ( AND had a damaged place! ) I was determined to find a way to bring the cane back to life.
I did a bunch of googling and looked all over YouTube for ways to repair and strip and restore the color of the cane…but there was really nothing out there.
It seemed to me that most people would just replace damaged and painted cane with new cane. And to be honest, that was a road I knew I didn’t want to go down.
So after thinking on it, I had an idea I wanted to test out. I wasn’t sure if it would work, but I was willing to try it out since the worst case scenario would just be painting over them again.
And to my surprise… my crazy ideas WORKED!
I found a way to not just easily repair small holes in the cane, but also to restore painted cane back to it’s natural color … without stripping it down!
Repairing Small Holes in Cane
Before working on restoring the color of the cane, I needed to repair the small place that was damaged.
Disclaimer
This isn’t going to work for every damaged piece. This little hack will really only work on small holes or broken areas of cane. And will really work best if there are still some strands remaining of broken cane. Oh and I would personally only use this hack if I was planning on painting the piece. You will see why in a minute….
The Hack
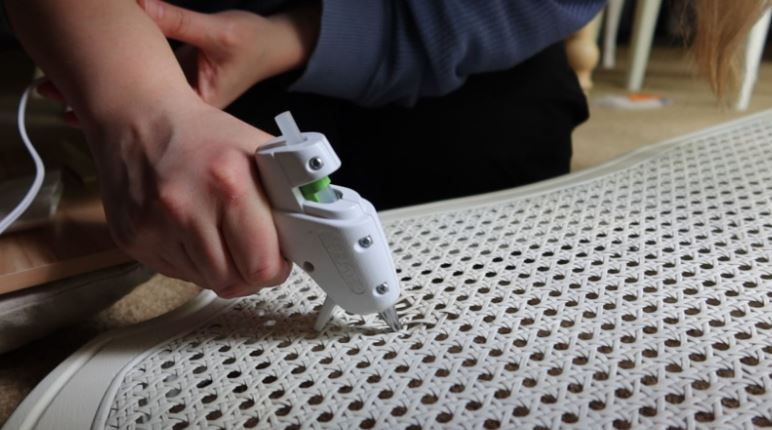
So what’s the hack? Would you believe me if I told you it was hot glue? Yup… hot glue.
I know it sounds nuts but it worked so well for me I can’t help but share this with my fellow furniture loving friends.
Basically all you have to do is lay your piece where the portion you are working on is horizontal. Then sparingly use the hot glue as if it were a 3D pen. Fill in the pattern of the cane where it is broken or missing. This is why this really only works best on small areas, because the glue needs something to attach to while it dries.
But it’s that simple.
Why It Works
By filling in the missing strands, visually the pattern of the cane is now continuous again and this means the damaged portion will no longer be as visible to the eye!
Again, this hack works best only if you are planning to paint the cane ( or restore it using the faux natural cane technique I’m about to share! ) because obviously you don’t want the hot glue to show.
So now that you have patched all your damaged areas… let’s get this cane back to it’s original glory!
Faux “Natural Cane” Stain Finish
Now this is such a gamechanger for me because this opens up a world of poor painted cane pieces that I know I can easily bring back to life again!
What You Will Need
For this technique you are going to need a tan spray paint as a base color. I found the Rustoleum Nutmeg in Satin was THE perfect base color!
Then you will need a gel stain ( I used this one in the color Walnut) , a sponge brush and a dry rag. And then lastly you will need a clear matte top coat. THIS one worked sooooo well for me!
Base Coat
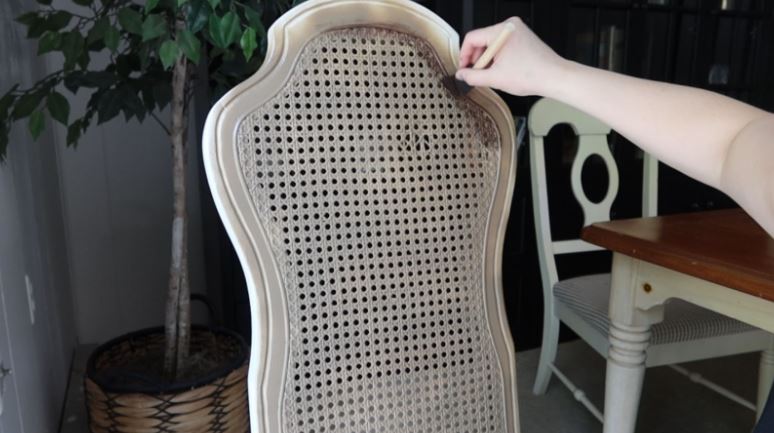
To restore your sad painted cane, take your spray can of the tan base color and give the cane a really good coat of coverage. I found that two to three light coats gave me the coverage I wanted. This will be your base color.
Adding Dimension
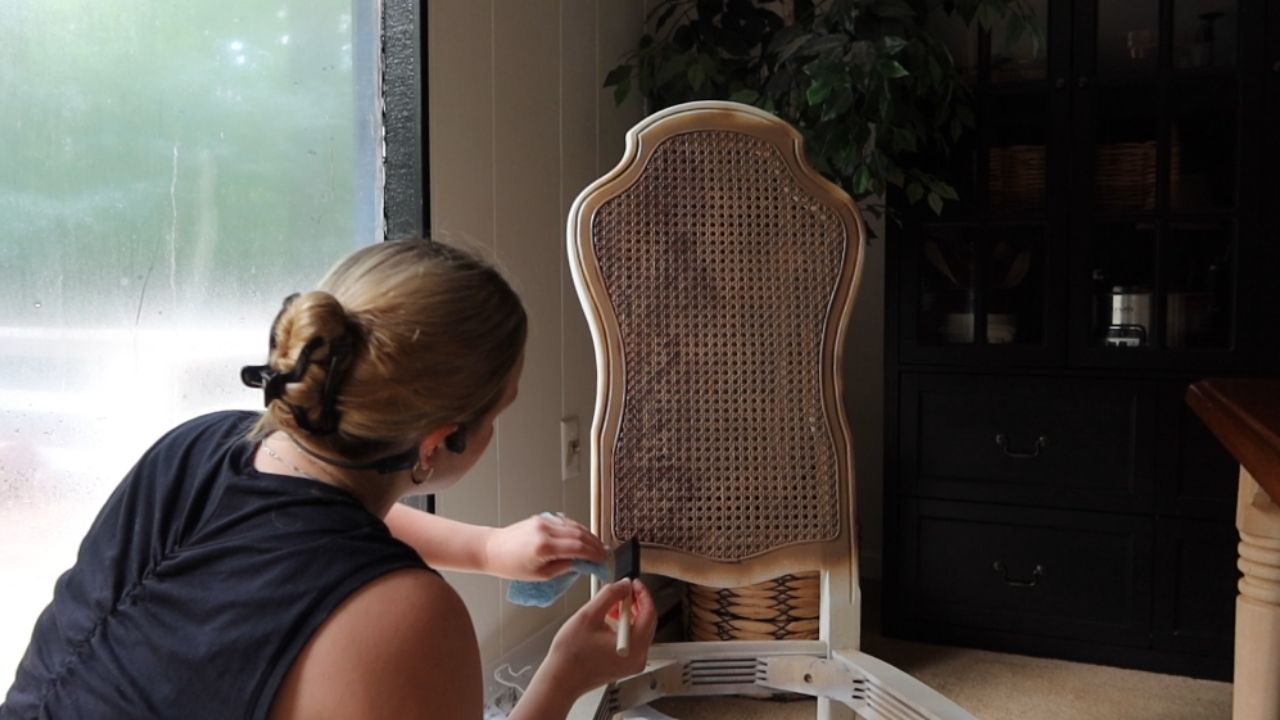
Next, once your base is really good and cured, take your gel stain and sponge brush and begin working the gel stain deep into all the crevasses of the cane and then wipe the top of the cane well.
It’s important to work quickly and in small sections so that the cane doesn’t soak in too much of the stain. The idea is that the gel stain will act as your shadow and the base coat will be your highlight.
To make this look as natural as possible, I pushed more gel stain around the edges and the corners of my chair. And then in the center or where the cane would naturally be touched and receive more “wear and tear” I went slightly lighter. I found that I got the desired effect with only one round of the gel stain.
Top Coat
Once the gel stain as dried and cured completely , spray your matte clear top coat and then you can enjoy your beautiful “new” cane!
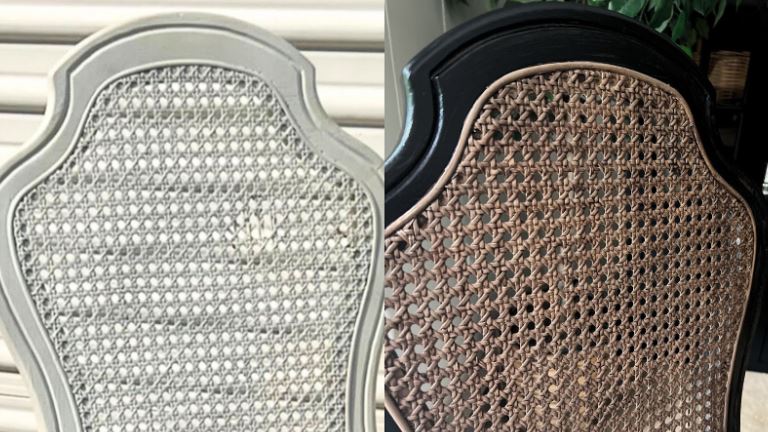
Honestly I’m shocked at how well this worked. SHOCKED.
Like I’ve gotten up sooooo close to my dining chairs to try to see if it looks DIY. But as much as I like to think I wouldn’t be, I really think I would have been fooled into believing these were the natural untouched cane if I had found these in a shop. The effect is really that good!
I hope you find this hack helpful and that you can use it to save and restore some beautiful pieces that you used to have to leave behind.
And if you would like to see a full video showing exactly how I used both of these hacks on my own dining chairs, annnndd the full reveal of how they and the rest of the dining room turned out, you can watch it over on the channel! ↓
WATCH ON YOUTUBE!

Welcome To
")
Inspiration to design a home and a life that is full of joy.
LEAVE A COMMENT
Comments